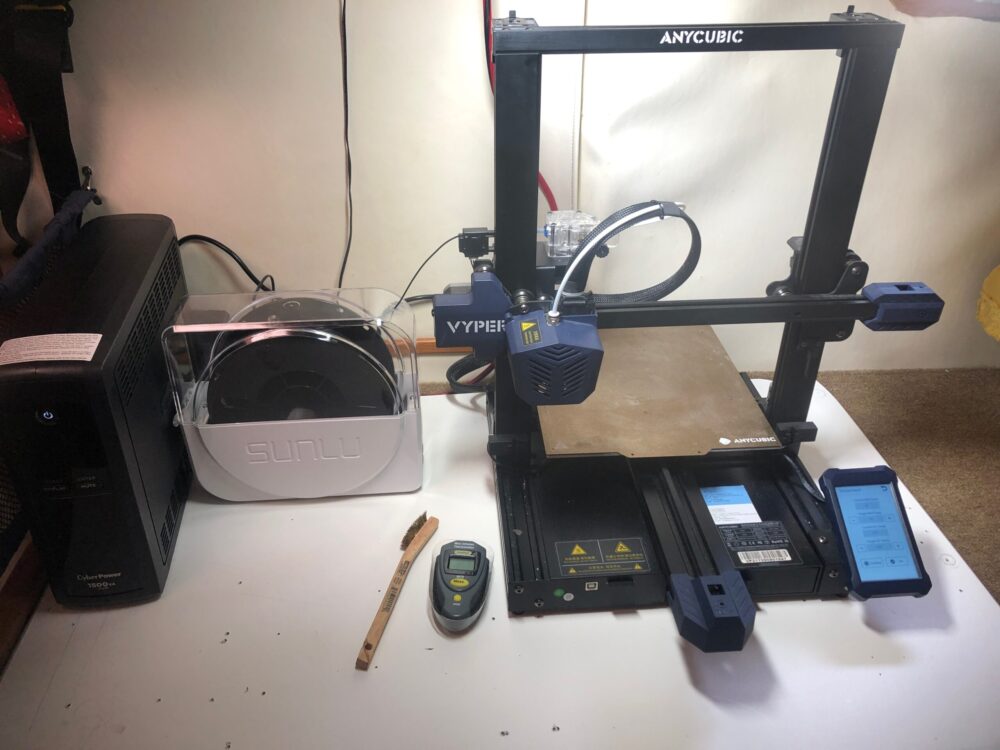
Now that the prototype Parts Replication System (PRS) has been up and running for a bit I’ve been getting settings and procedures dialed in and collecting some data on power usage. The power consumption data were collected using the setup shown in the first photo and will be used to determine the power budget for printing a given part when away from dock. 3D printer filament is hydroscopic (absorbs water from the air) and a dryer is necessary to remove moisture both before and during printing. I went through a couple of iterations with this as I discuss below – but first the power consumption bit.
The power consumption testing was conducted using a cylindrical test object (Figure 1) that was printed in the two filaments (PLA and PETG) which I frequently use aboard. Aside from those I also use TPU (for flexible parts like wheels and gaskets), Nylon (for parts used outdoors), and Carbon Fibre impregnated Polycarbonate for parts that need to be UV resistant and as strong as possible – given my current printing capabilities. But, I chose PLA and PETG since they represent the lowest temperature, and highest temperature processes respectively and thus a good range for the power consumption measurements.
The first step is calibration and those power measurements are in table 1 below.
| Calibration Type | 16 point automatic |
| Print Head Temp | 230ºC |
| Bed Temp | 50ºC |
| Power Used | 0.027 kwH |

The test object, A 100mm (h) x 10mm (OD) x 4mm (ID) tube
| Object | Tube 100x10x4 |
| Filament | Overture PETG 1.75mm |
| Print Temp | 230ºC |
| Bed Temp | 85ºC (Measured) |
| Dryer Temp | 75ºC |
| Print Time | 01:26 |
| Filament Consumed | 15g (5 metres) |
| Power Consumed | 0.505 kWH |
| Estimated kwH / gram of PETG | 0.0337 kWH/gm |
| Object | Test Tube 100x10x4 |
| Filament | Overture PLA 1.75mm |
| Print Temp | 190ºC |
| Bed Temp | 50ºC (Measured) |
| Dryer Temp | 55ºC |
| Print Time | 47 minutes (approximate) |
| Filament Consumed | 18g (6.07 metres) |
| Power Consumed | 0.185 kwH |
| Estimated kwH / gram of PLA | 0.01028 |
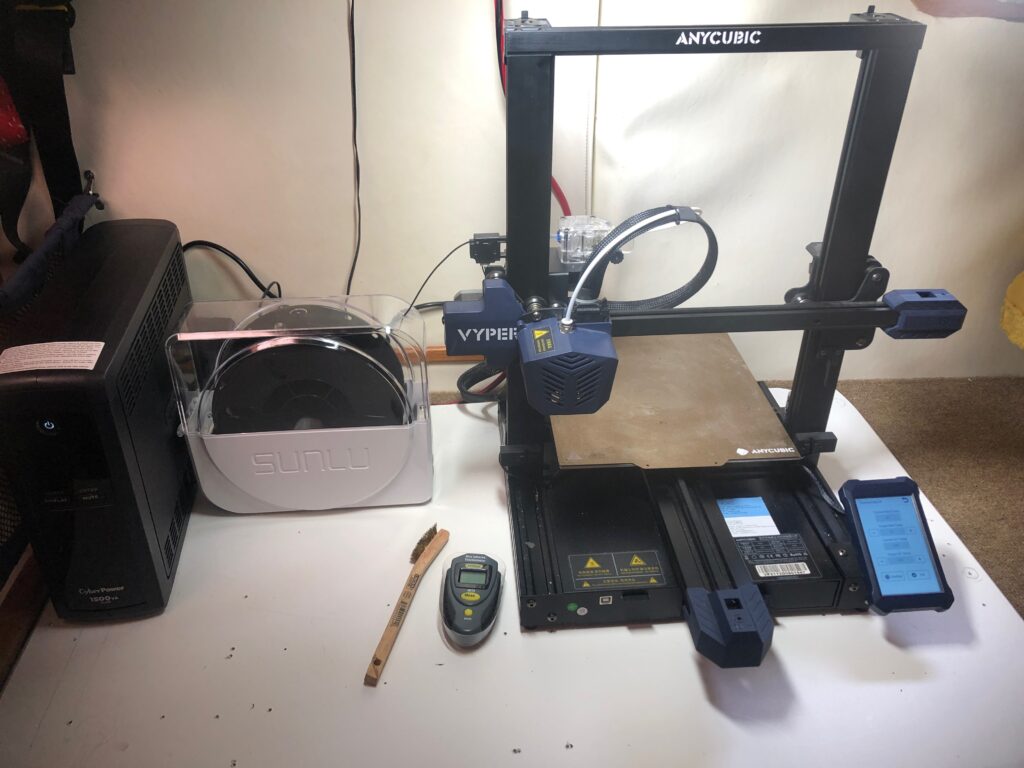
My original setup, left to right: 1500VA uninterruptable power supply, Sunlu filament dryer, and Anycubic Vyper FDM printer with with factory hot end and 400µM steel orifice.
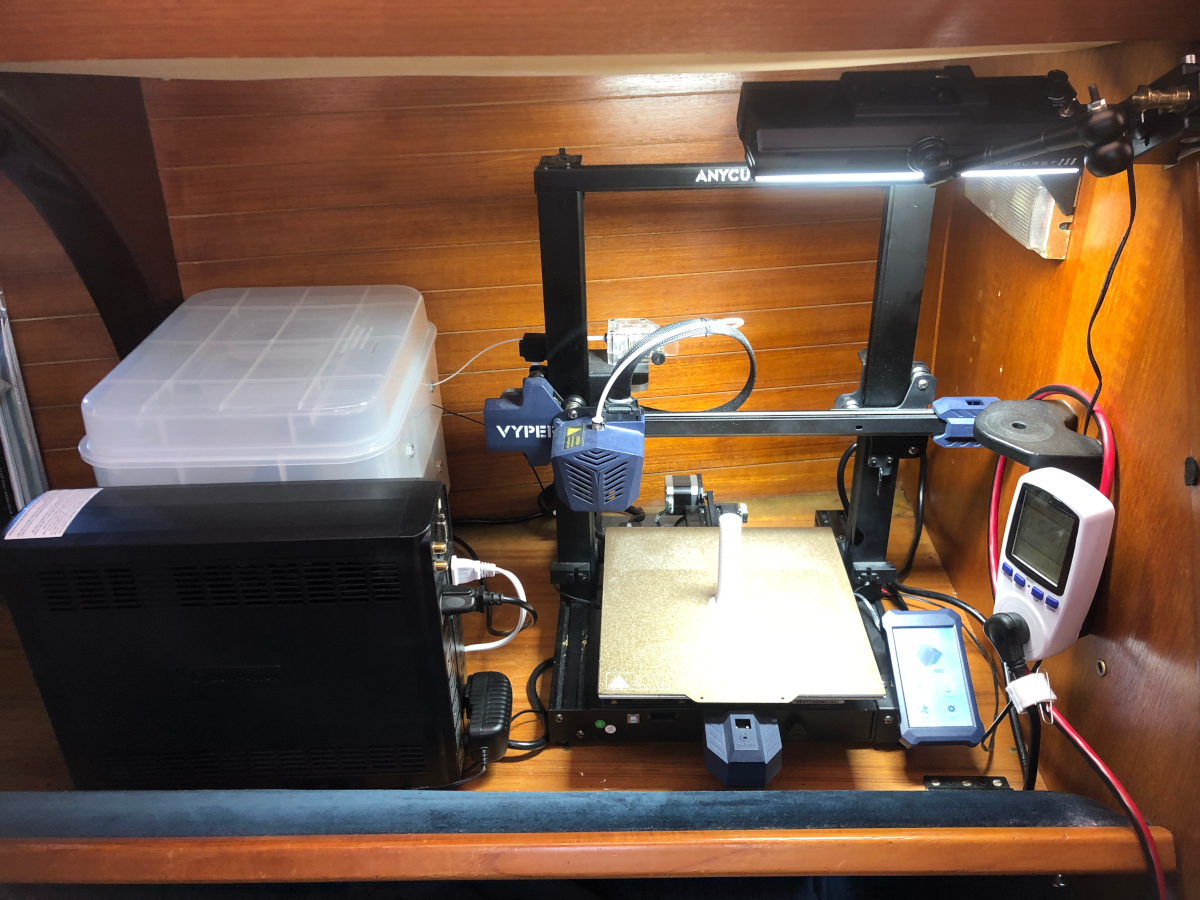
Since the above photo was taken, I have upgraded my filament dryer to a larger unit. I was having problems with wet nylon filament resulting in poor quality, weak prints. After some investigation I determined that the Sunlu dryer was not getting hot enough for my application. That problem resolved once I had the right dryer that could get hot enough to drive the moisture out of the filament even when the ambient humidity is high, but my power consumption ticked up another notch. The data in the table was collected with the upgraded dryer in the system. the new dryer is approximately 1/3 of the power consumption figures given above.
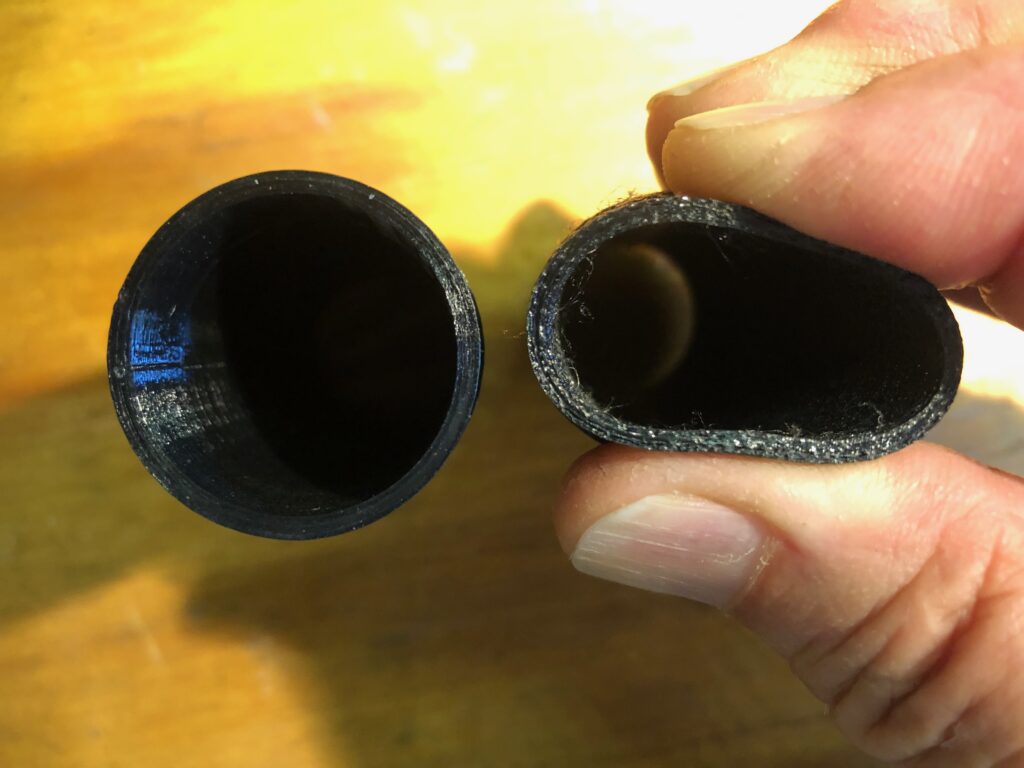
Comparison of Nylon Parts Printed with Dry vs. Wet Filament. Left: dry filament produces a strong, rigid part. Right, a weak flexible part caused by wet filament.

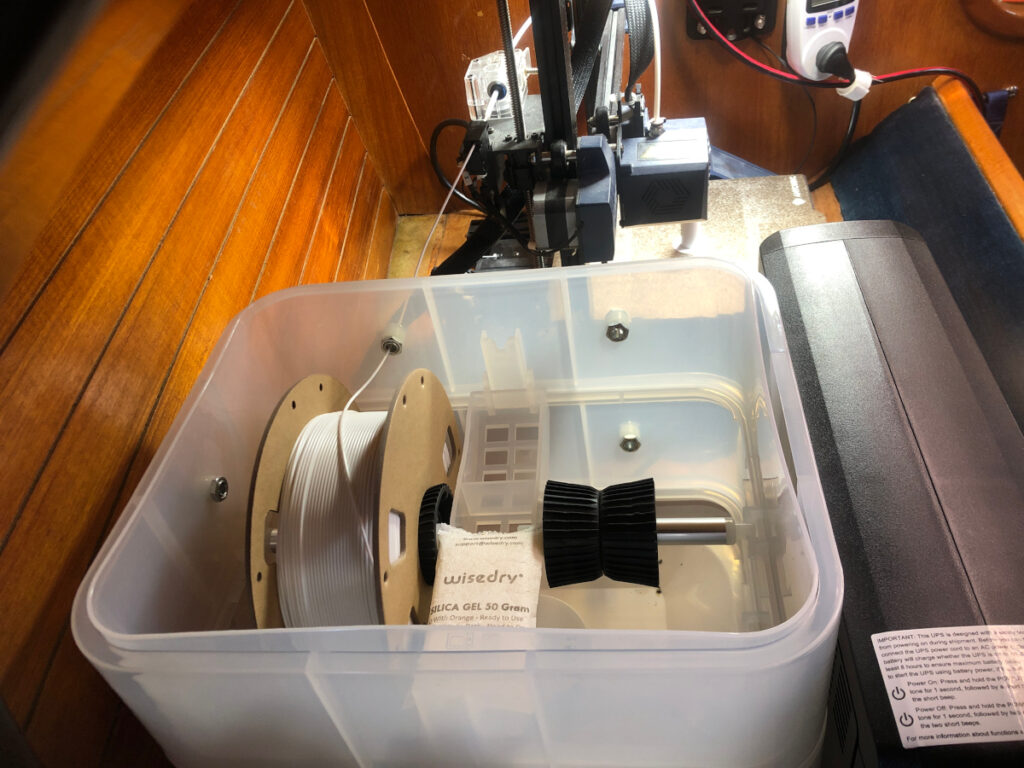

The new setup with the upgraded filament dryer back left, UPS front left, and the AnyCubic printer. The wattmeter is hung on the wall to the right when measurements are being made.
As I mentioned in my previous PRS post I had an issue with the print bed coming up to temperature. The heated bed is necessary when printing with certain plastics to ensure that the part stays adhered to the bed and doesn’t warp during printing. I discovered the issue by doing some reading on all3dp.com to suss out the probable causes of the part not staying stuck. Then, by checking the temperature directly with a non-contact digital IR thermometer, I discovered that the bed was actually 10 to 15ºC cooler than was indicated on the printer display – a sign of a bad thermistor. I contacted AnyCubic customer support and they sent me a new print bed under warranty.
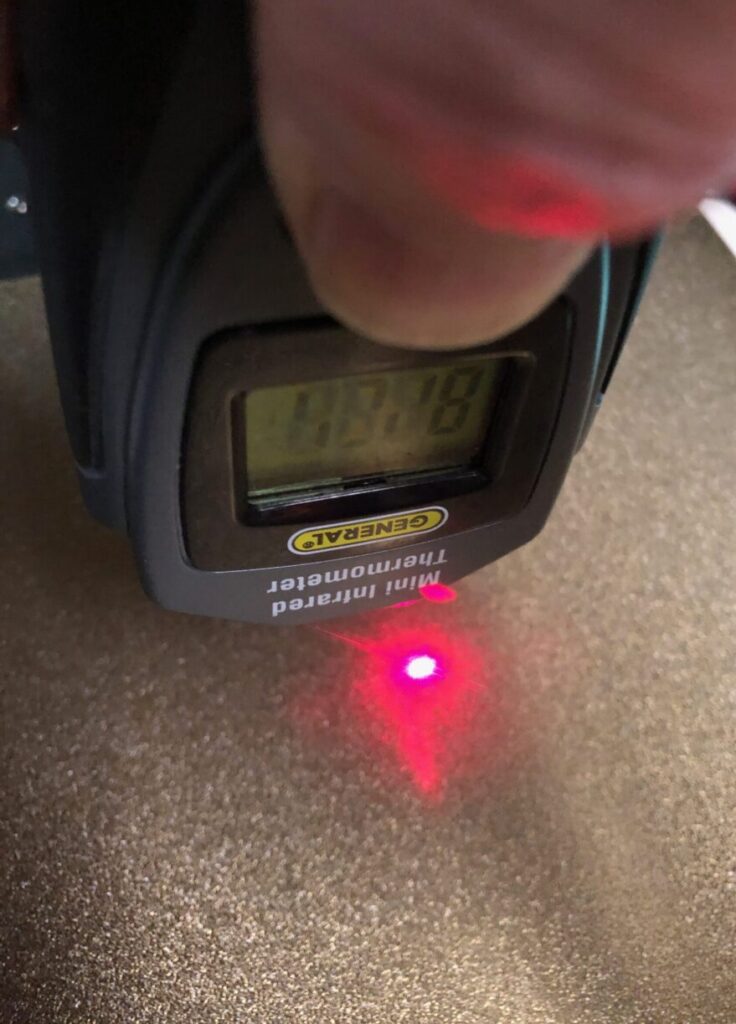
Verifying the Print Bed Temperature using a IR thermometer.
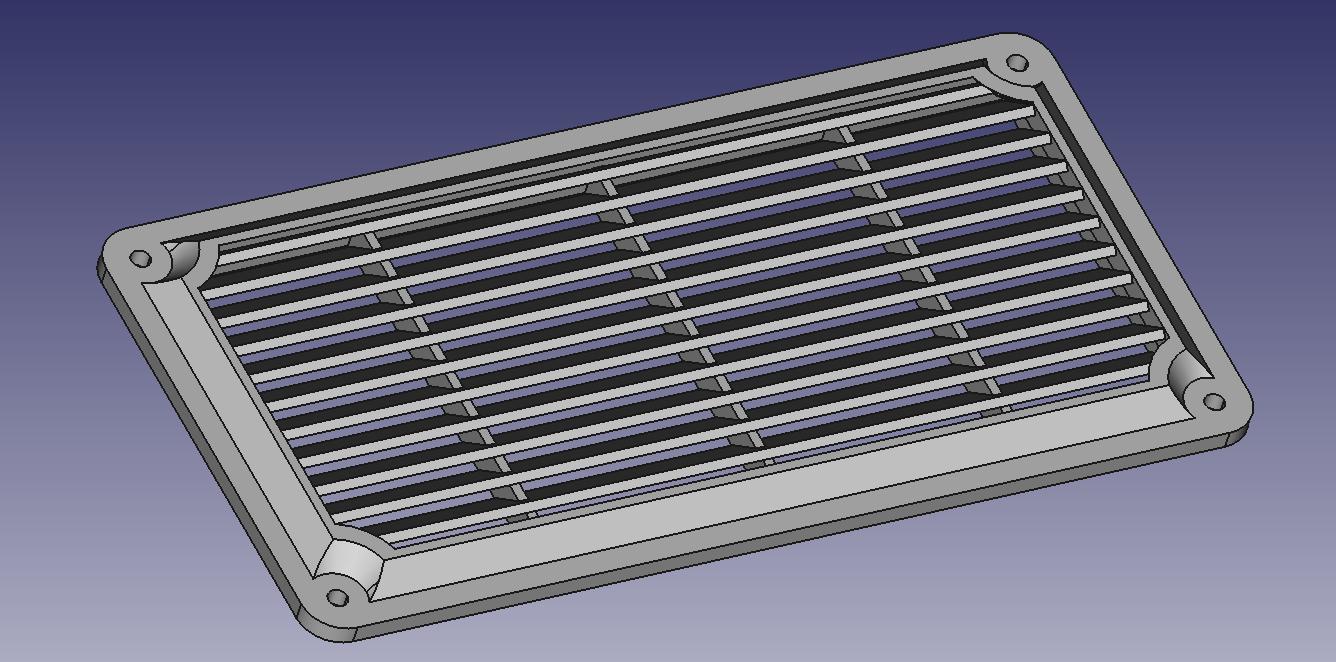
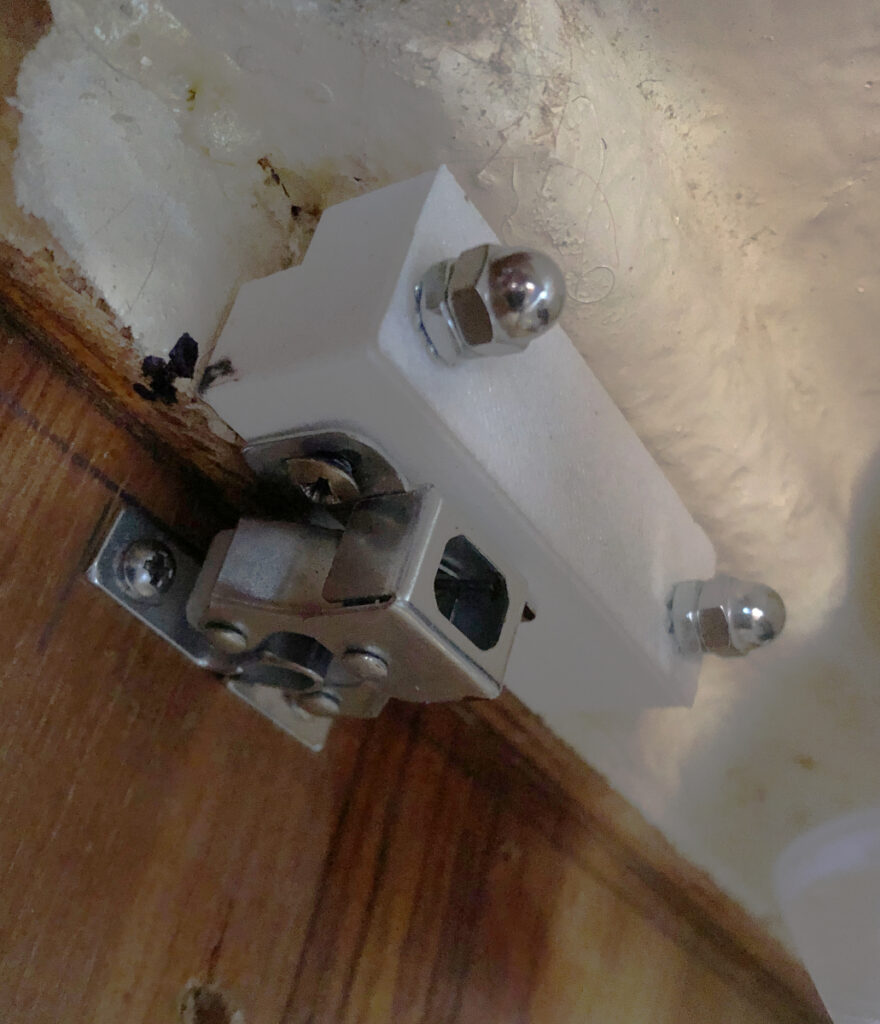
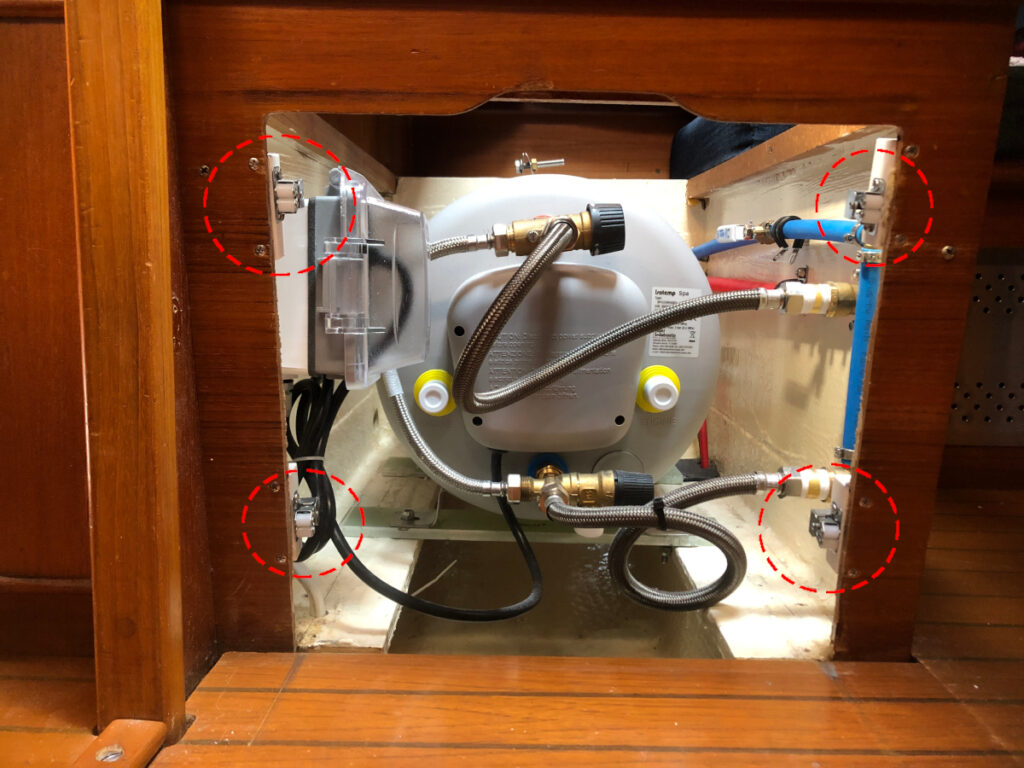
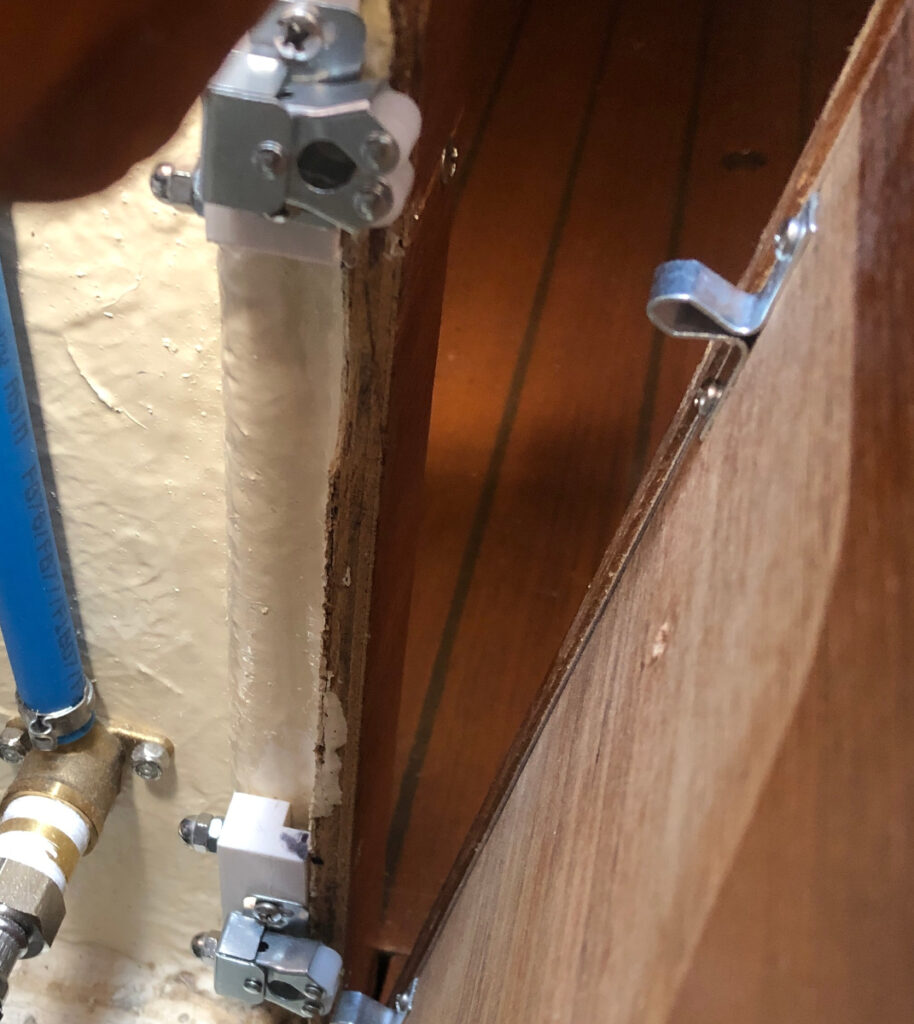
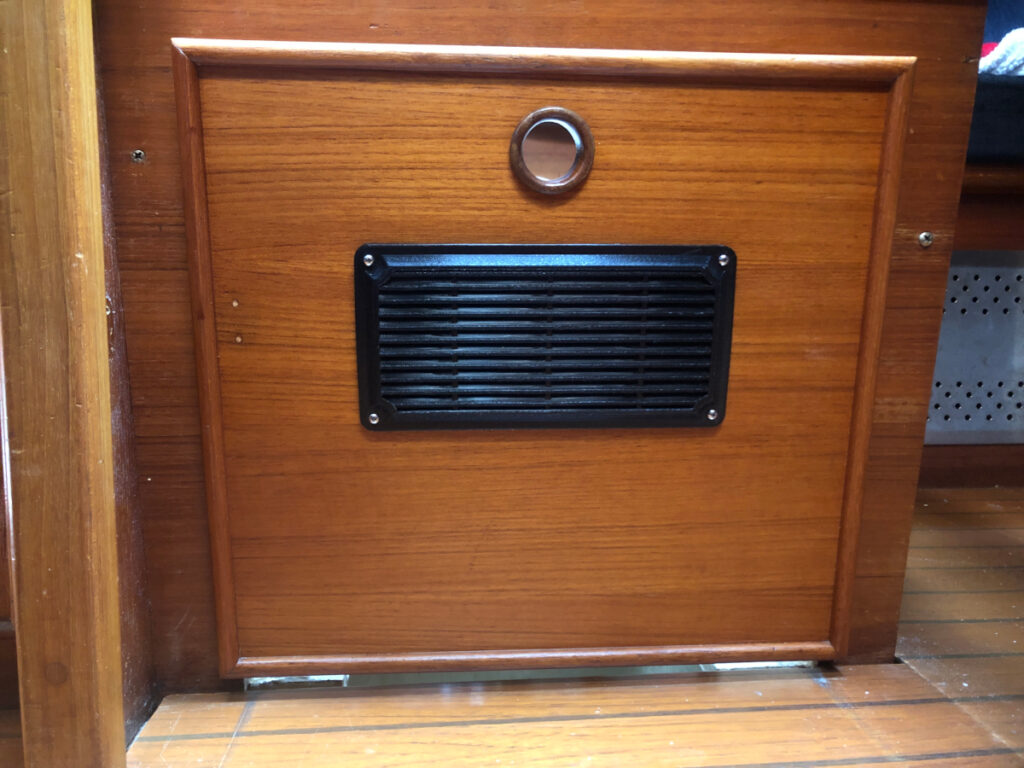
Recently, I installed a new hot water heater(moved it to a new location) and needed to print some mounts for the pinch clamps that hold the access panel in place. These pieces were printed solid to allow them to take the machine screws to hold the pinch clamps. I collected the power consumption data and the results are shown in Table 3.
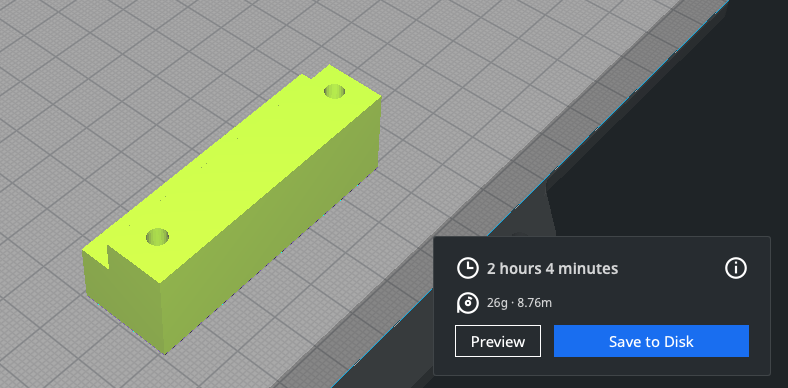
Model sliced in Ultimaker Cura and ready for printing
| Object | Pinch Clamp Mount |
| Filament | Overture PETG 1.75mm |
| Print Temp | 230ºC |
| Bed Temp | 85ºC (Measured) |
| Dryer Temp | 75ºC |
| Print Time (Actual) | 2 hours, 6 minutes |
| Filament Consumed | 26g (8.76 m) |
| Power Consumed | 0.694 kWh |
| Estimated kwH / gram of PLA | 0.02669 |
So far I have found many uses for the 3D printer on board, primarily for printing bespoke mounts and holders of various kinds, electrical boxes, gaskets, replacement parts, deck fills, … on and on. It’s become essential kit and the parts library I’m building up will allow any of these pieces to be replicated as needed.
Other posts in this series: